THE PERFECT STRANGER
after David Rubio
Early in 2023 I started work on a unique project entrusted to me by Bill. Here’s the backstory:
“This note Jamie, I thought might give you some ideas. I first met David in Duns Tew in the 1970s. It was a few years later that I was working as a surveyor for Cambridge City Council that David appeared at our office and declared he was fed up with the commercialisation in Oxford and wanted to come to Cambridge. I was keen to help and was able to procure a dilapidated property on Castle Hill/Pound Hill which David and Nest took a liking to - history bears witness to their beautiful conversion.
Meantime the clock marches round and I returned to Cambridge area. I had just attended a funeral and was in Castle Hill when I spotted a figure in the front garden of her home. I crossed the road and started a conversation that went on all afternoon. It was a year to the day that David had died. We retired to the house and discussed many things. During that time I mentioned that I was looking forward to retirement and wanted to build a guitar.
The next day I had a call from our Cambridge office to say a lady had called and left a strange parcel for me. It was labelled “To a Perfect Stranger”.
It is again some 20 years on and I would like you to construct a guitar in memory of a gentleman who I knew and respected and with some annoyance that I did not take up the challenge. It will be called a perfect stranger. I am hoping the wood is still in good order!”
Bill
RUBIO
David Rubio was a well respected musical instrument maker who famously made a number of guitars for Julian Bream. He lived and worked in Cambridge from 1979 until his death in 2000. He is known in the guitar world for his development of a radical 8 string, multiscale “Brahms guitar” played by Paul Galbraith. https://www.rubioviolins.com/
photographical journey

MATERIALS
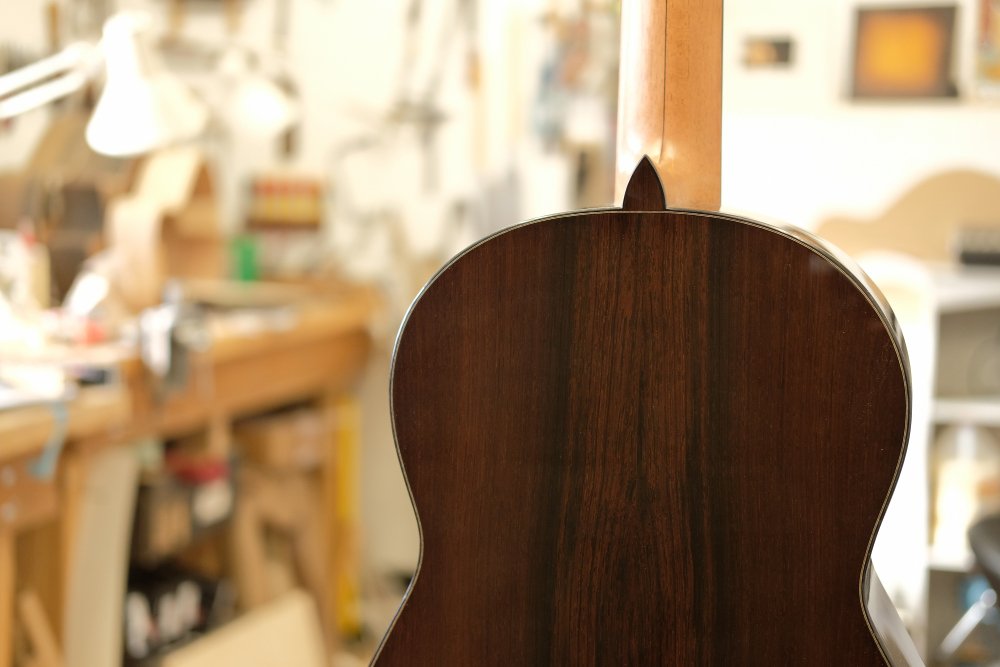
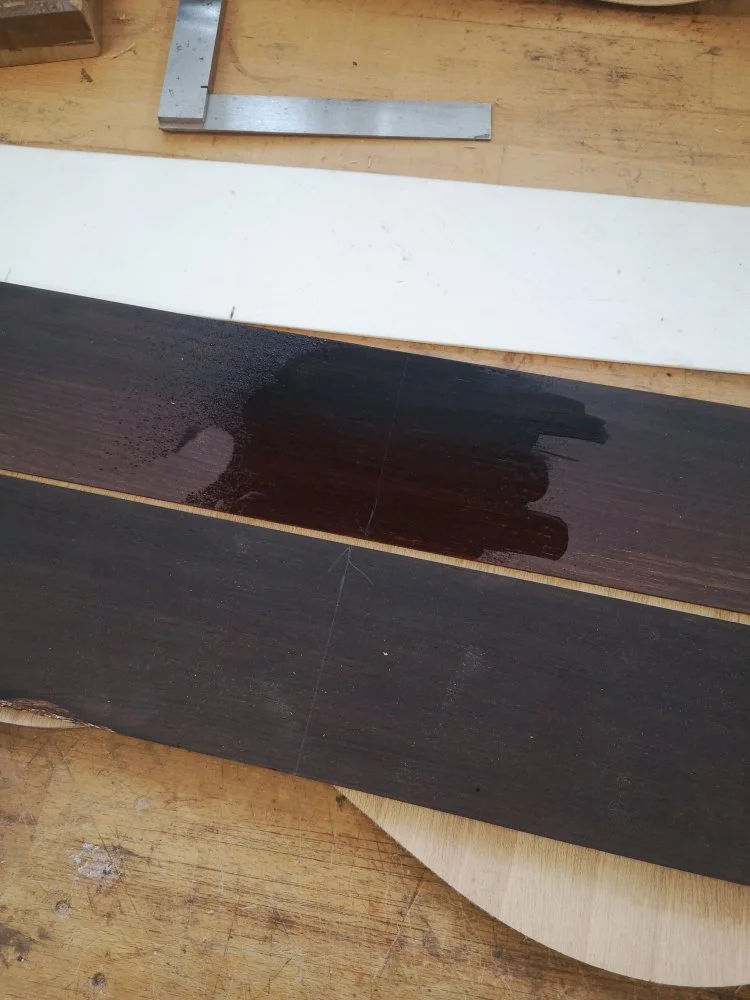
The materials that Nest gave to Bill included a beautiful set of European Spruce flecked with bearclaw, perfectly quartered and marked April 1992, which I’m guessing is the date David purchased this set. Also in the bundle was a truly gorgeous set of straight grained, quartersawn Brazilian Rosewood. For reasons unknown the ribs do not match each other, but this is of little consequence, and in our eyes serves only to enhance the charm. We also have an ebony fingerboard, preslotted and tapered for a 660mm scale and a rough cut Brazilian Rosewood bridge.


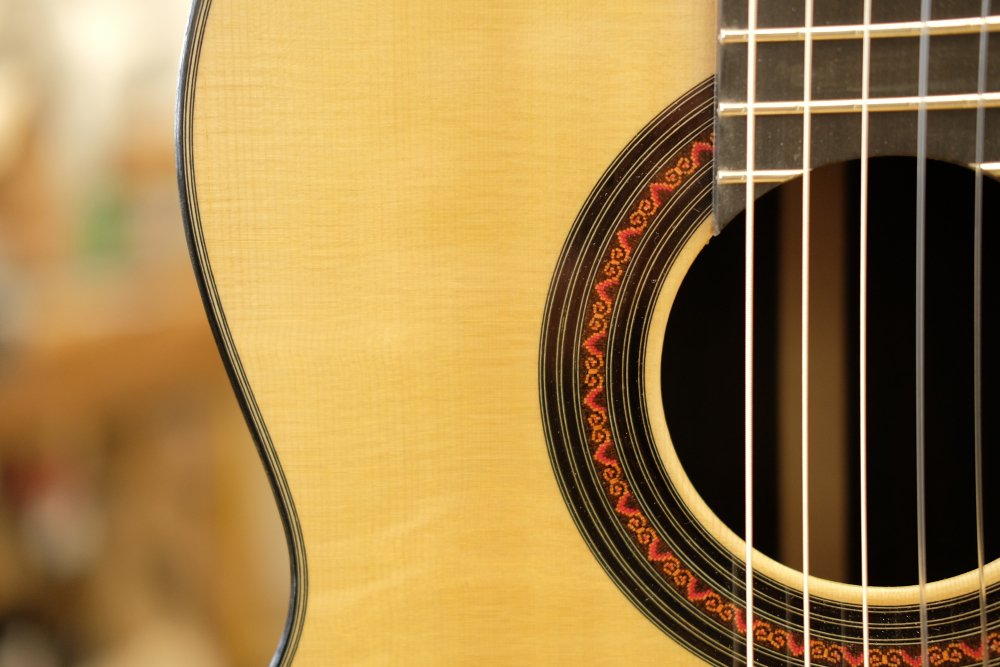
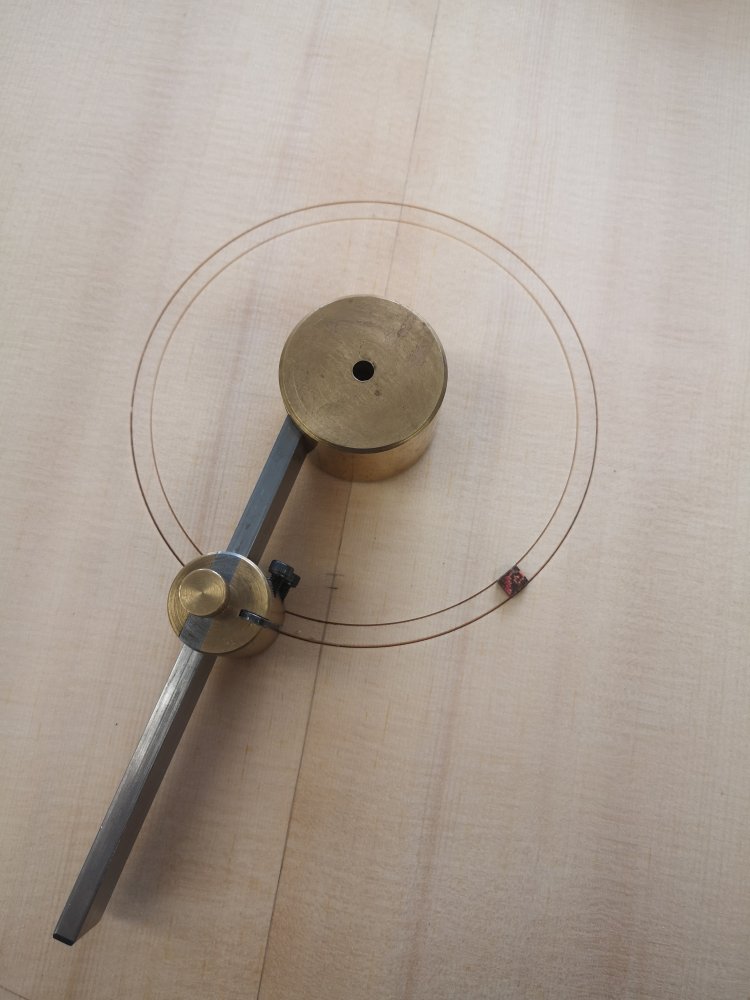
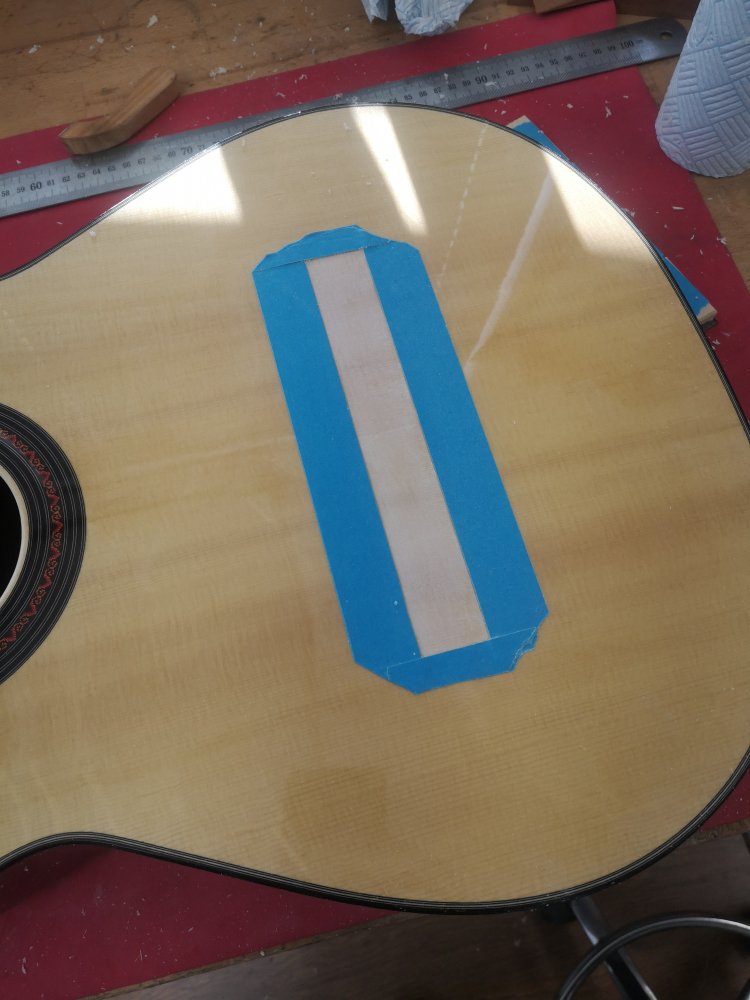
ROSETTE
Bill found a rosette of David’s online and sent it through as a suggestion for this guitar. I liked it and embraced the challenge of replicating this elegant classic style mosaic and ring design. Here’s how I went about the process:


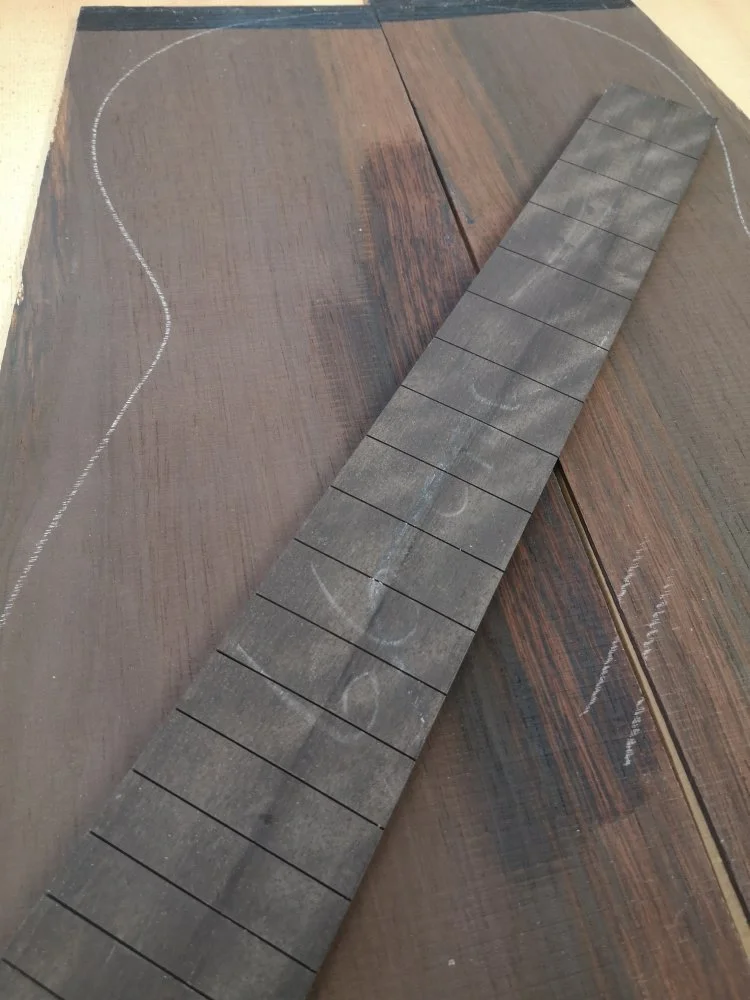
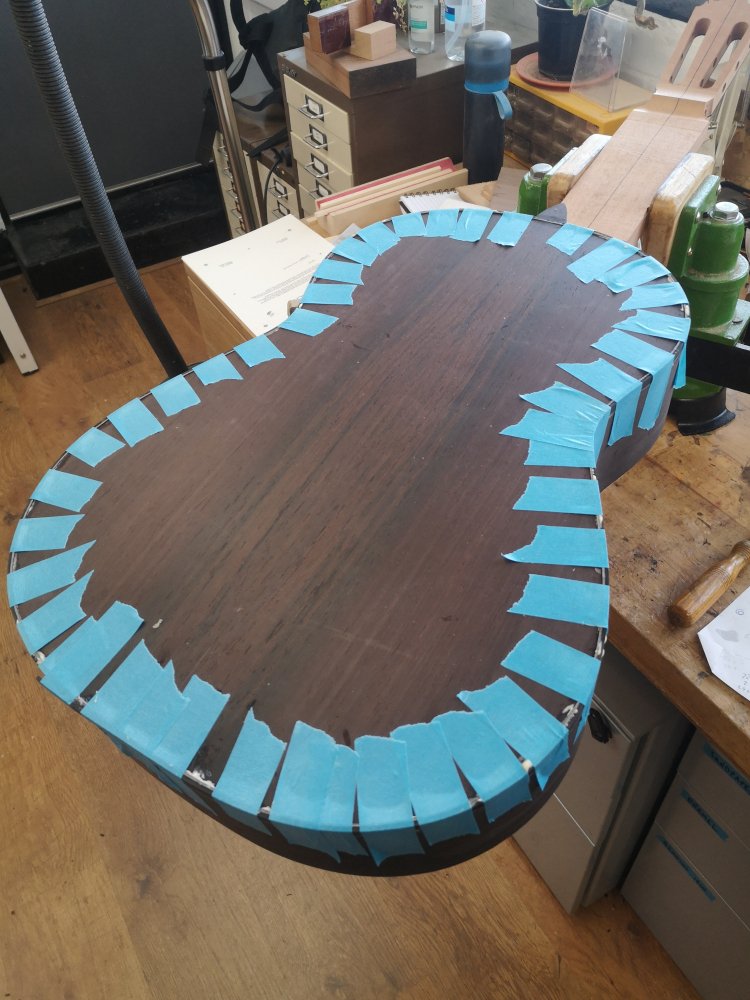
Plantilla / Outline
When I first received the materials, I didn’t pay much attention to the chalk marked guitar outline on the rosewood back. After all, it’s commonplace for suppliers to roughly draw an outline on the wood to check sizing. However, on closer inspection and comparing it to other examples of Rubio’s work online, I surmised that this was in fact THE Rubio plantilla! I carefully traced and scaled the chalk mark in CAD and then created the template for the Perfect Stanger.


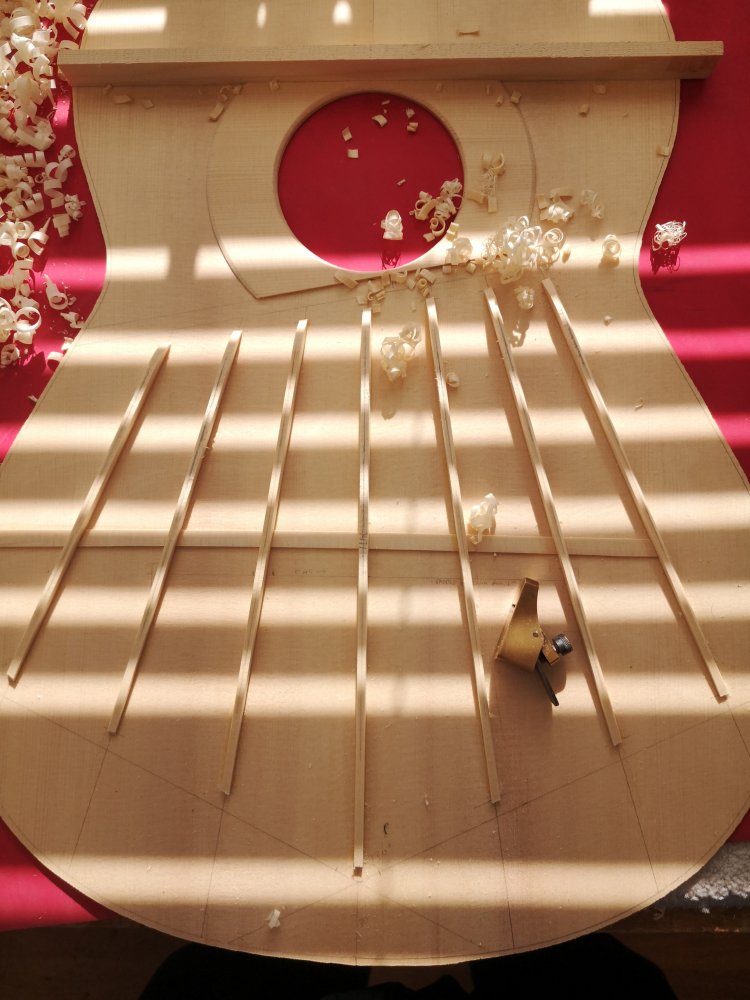
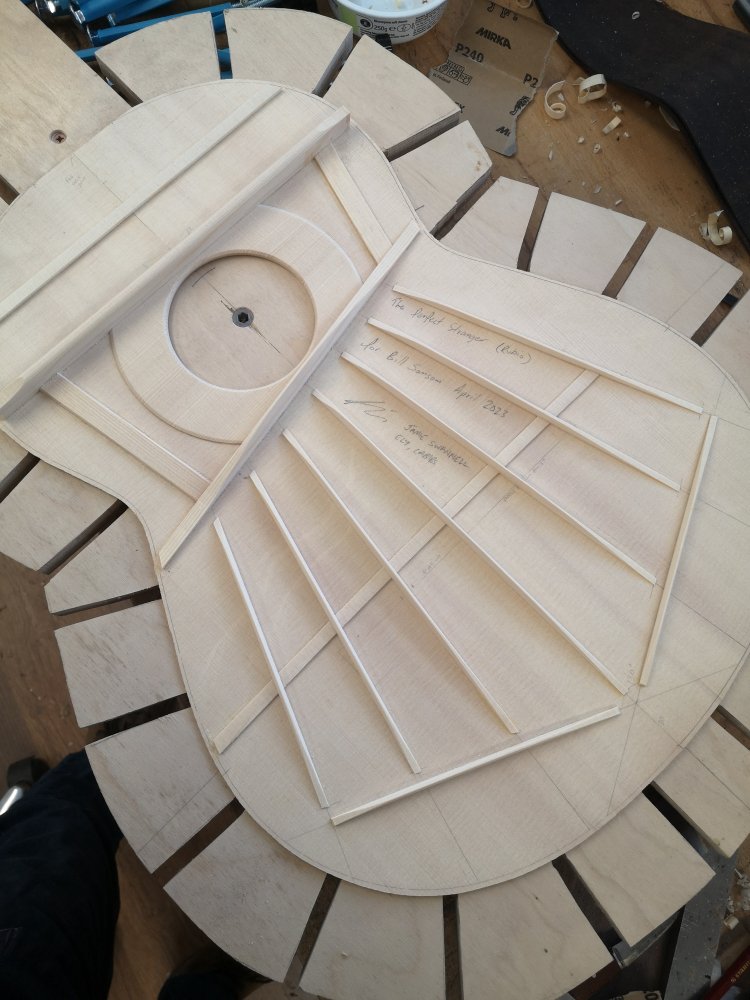
SOUNDBOARD & BACK
After a little research into David Rubio’s soundboard designs, and with thanks to Dr James Westbrook for his assistance, I came to the decision not to copy faithfully an existing bracing design, but rather to use this research to inform my own design. To my knowledge, Rubio had a fascination with asymmetry with his bracing and is famed for using what he called a “nodal bar”, a short brace running perpendicular to the grain of the soundboard and sitting underneath the treble side of the bridge. From images Dr Westbrook shared with me, I determined on later guitars he was using a 7 fan pattern and adopted two low, transverse braces that ran under the bridge and extended to the perimeter of the guitar on the treble side, but stopped short at the final fan brace on the bass side. I interpret these two braces as devices to create asymmetry in the soundboard in order to increase projection. In my design, I have gone one step further in the quest for asymmetry by setting the harmonic back at a 10 degree angle.


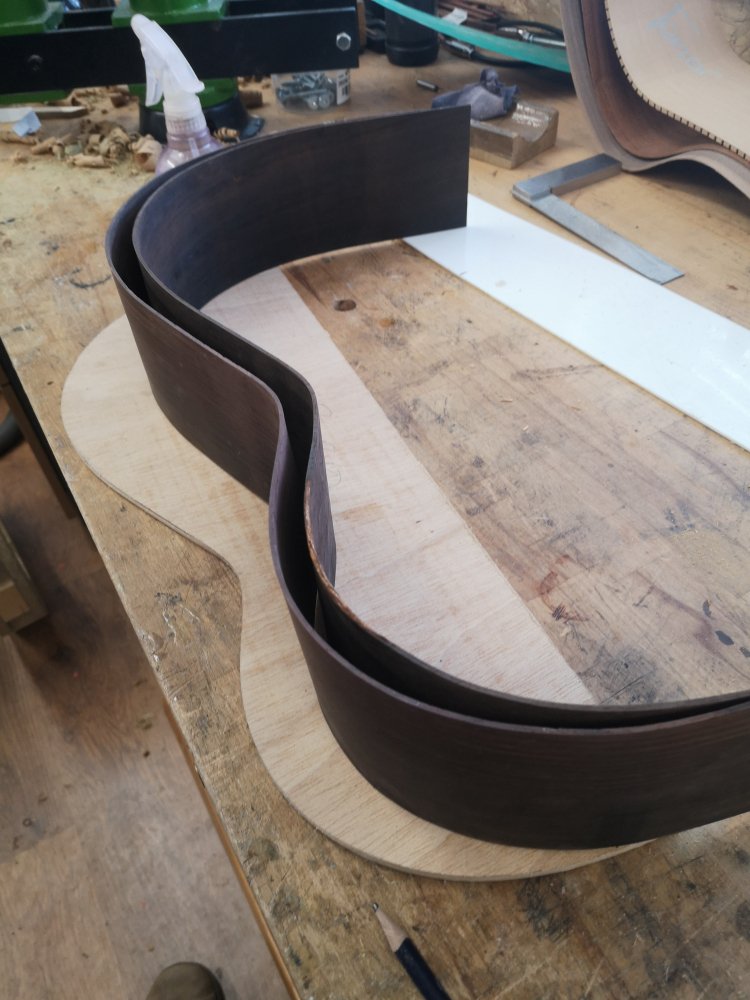
THE RIBS
The outline of the guitar is established by the bending of the ribs or sides. These have been thicknessed down to between 1.6-1.8mm and are bent using the time honoured technique of careful application of heat, water and force. I use a electric bending iron and aim to bend the ribs so that they are smooth and fair-curved, with no lumps or bumps - minor discrepancies can easily be sanded out later, but the closer they match to the template, the better.


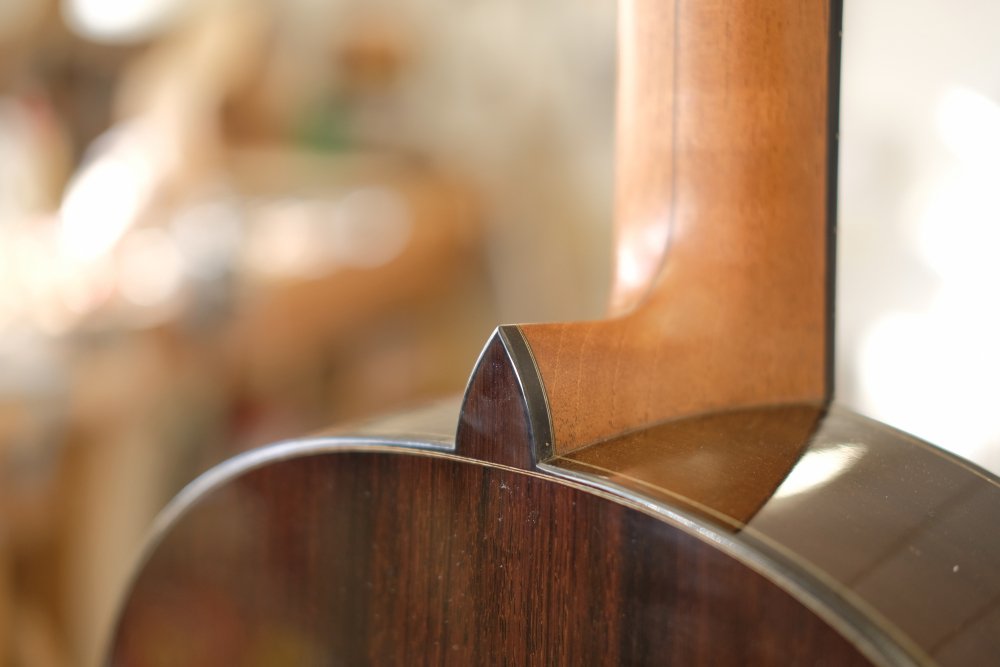
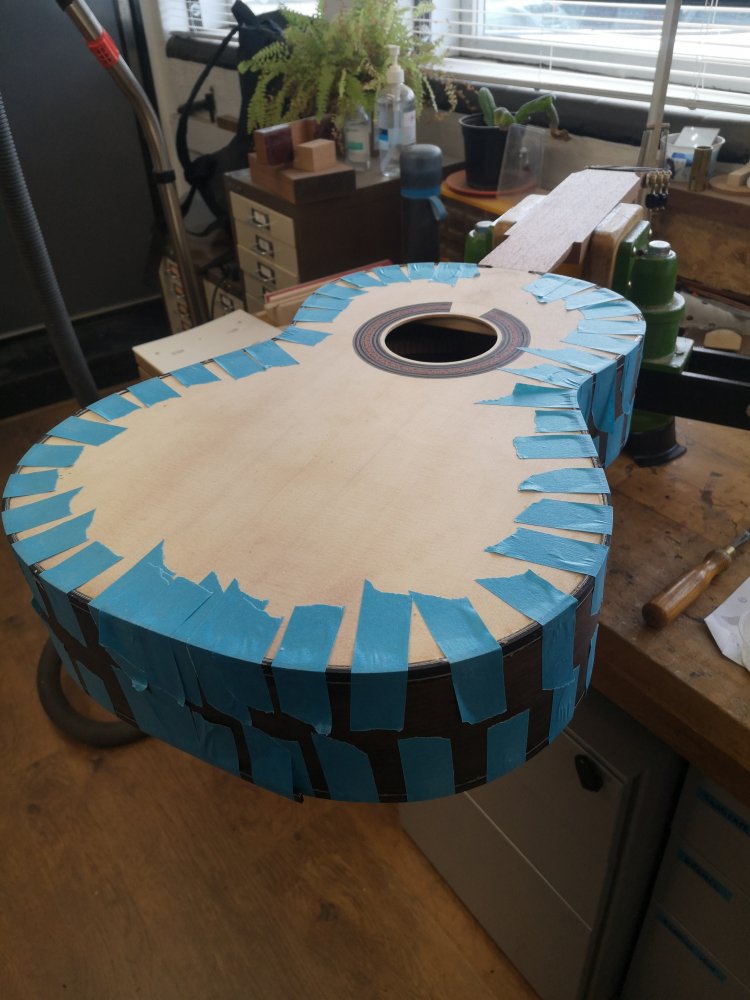
ASSEMBLY - GOING 3D
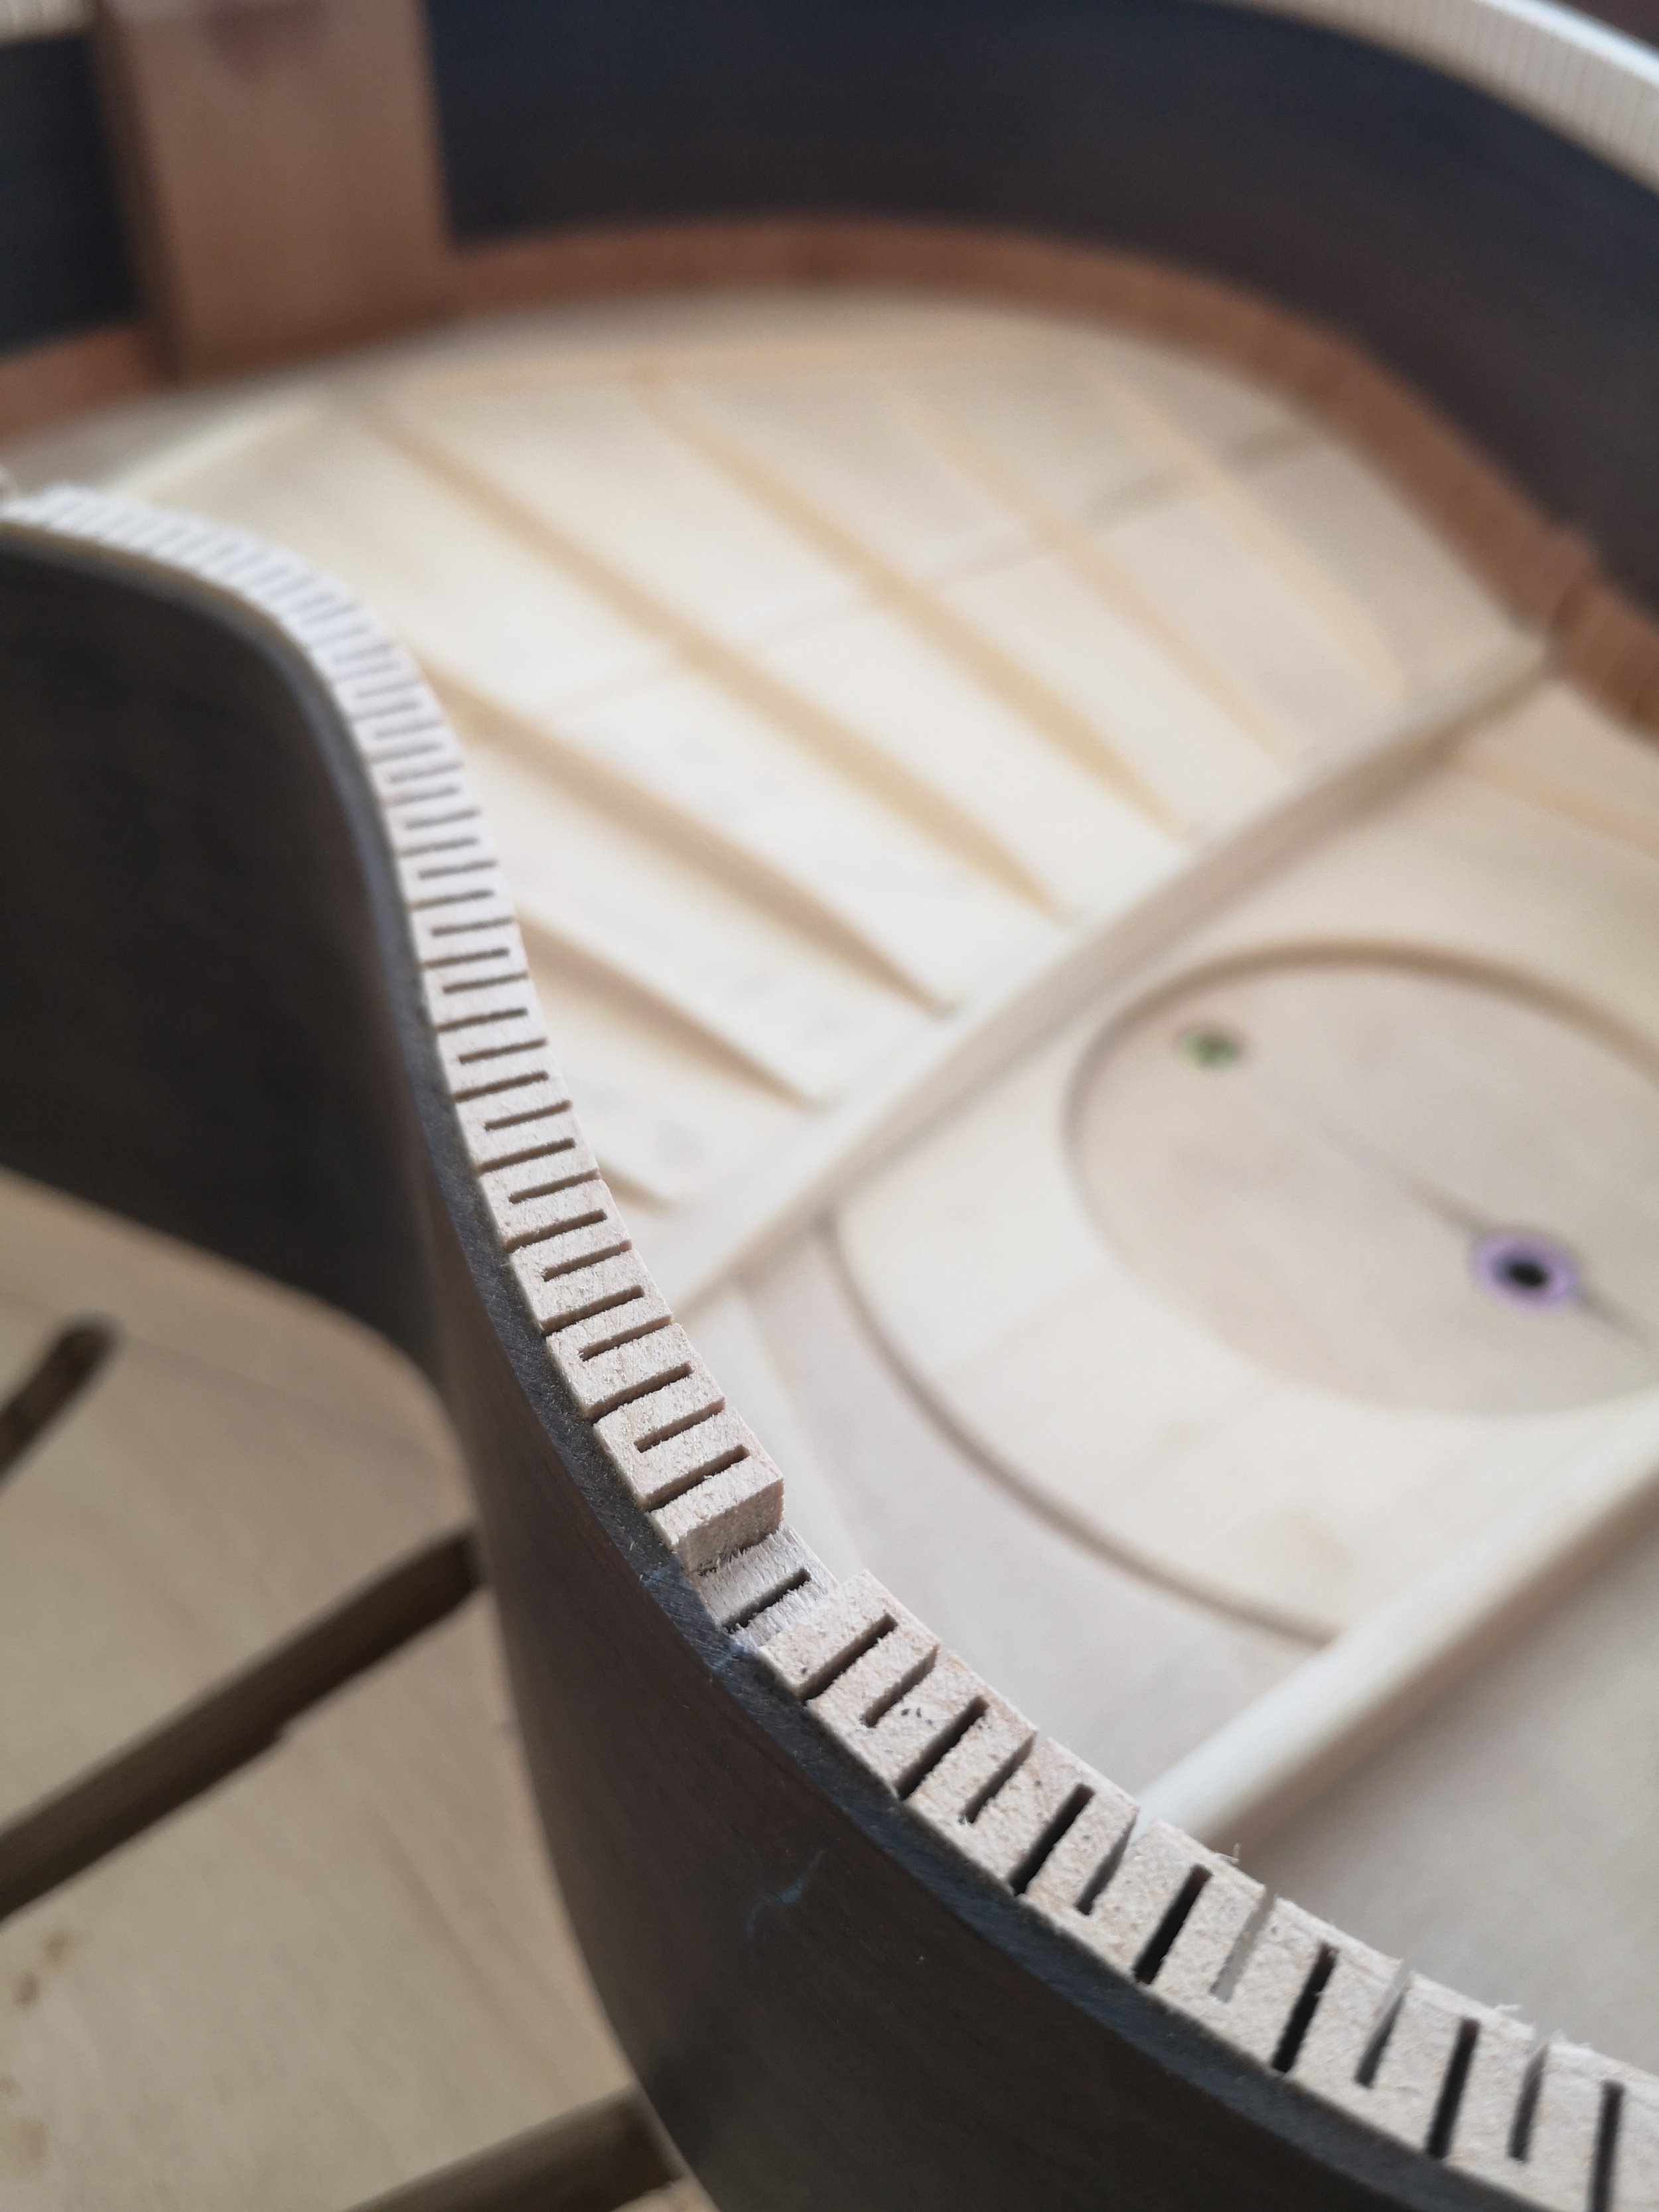
Now the top, back and sides are prepared it’s time to make a box. I chose a combination of methods, one traditional and the other slightly more modern, to create the linings. The linings help to increase the gluing area between the 3 surfaces. They also serve to stiffen up the whole assembly and secure the ribs into shape, effectively by means of lamination.
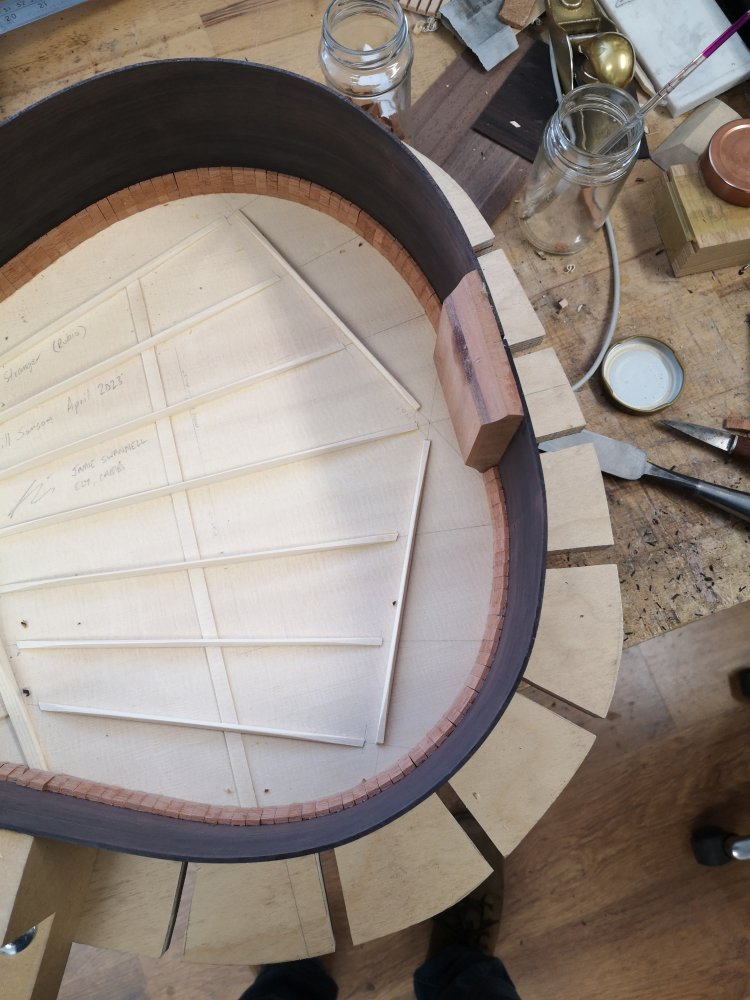
The traditonal method of joining classical/Spanish guitar soundboards to their ribs is with small 5/6mm blocks called tentellones or peones (loosely“teeth” or “pawns” in Spanish). Glued in with hot hide glue, this is a laborious but satisfying process.
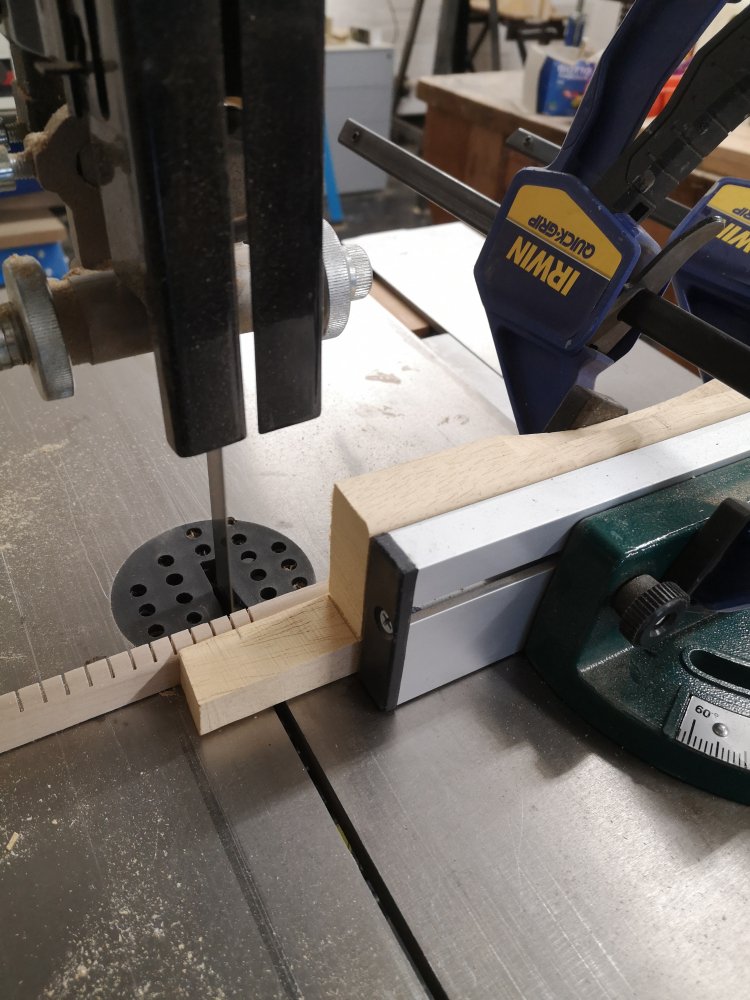
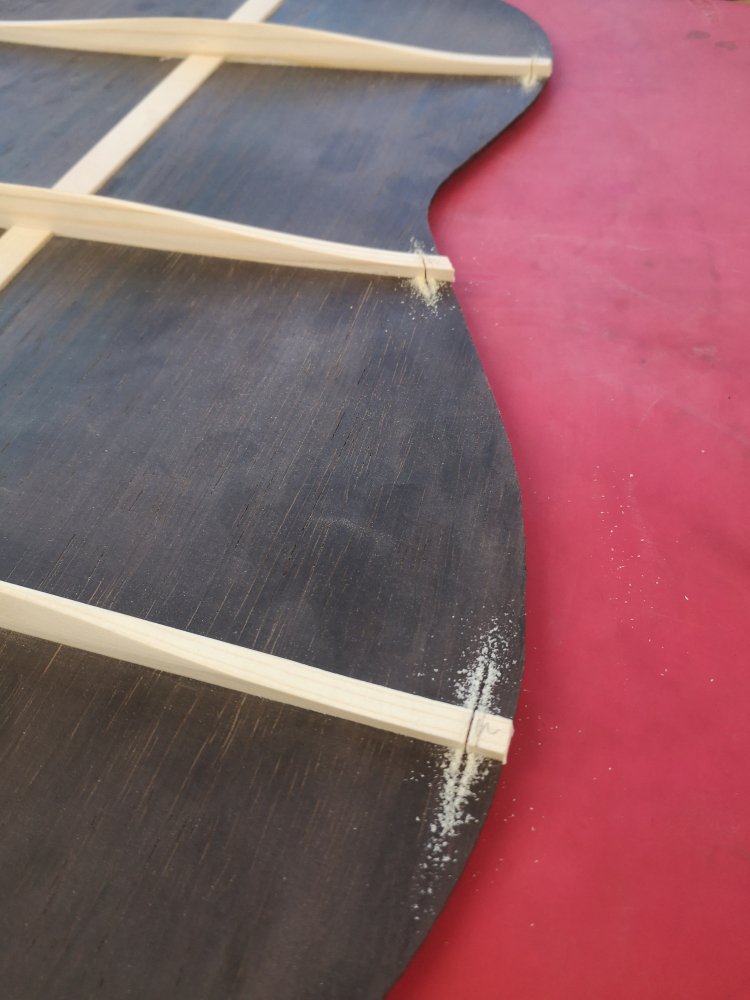
To join the back to the ribs I opted to use double kerfed continuous linings. These are made from long strips of poplar in this case, profiled to shape and then cut on the bandsaw almost the whole way through in 6mm spacing on the front and rear faces. This yields a continuous lingin which can be bent without heat or moisture in almost any direction. This helps when trying to wrestle the lining to conform to the complex curvature of the ribs.
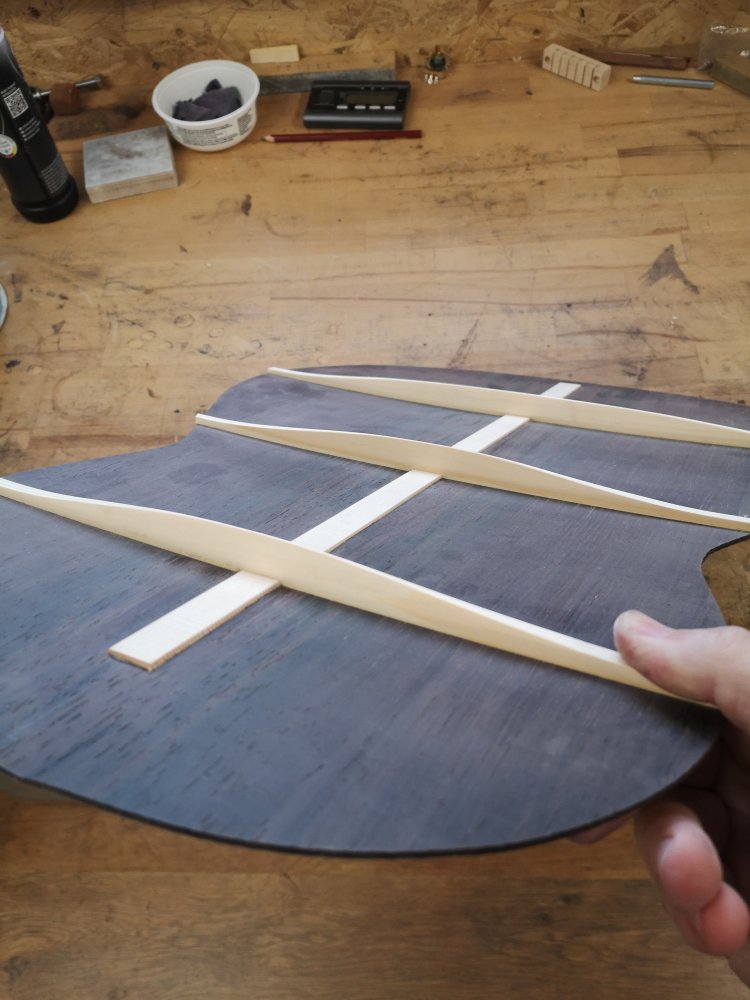
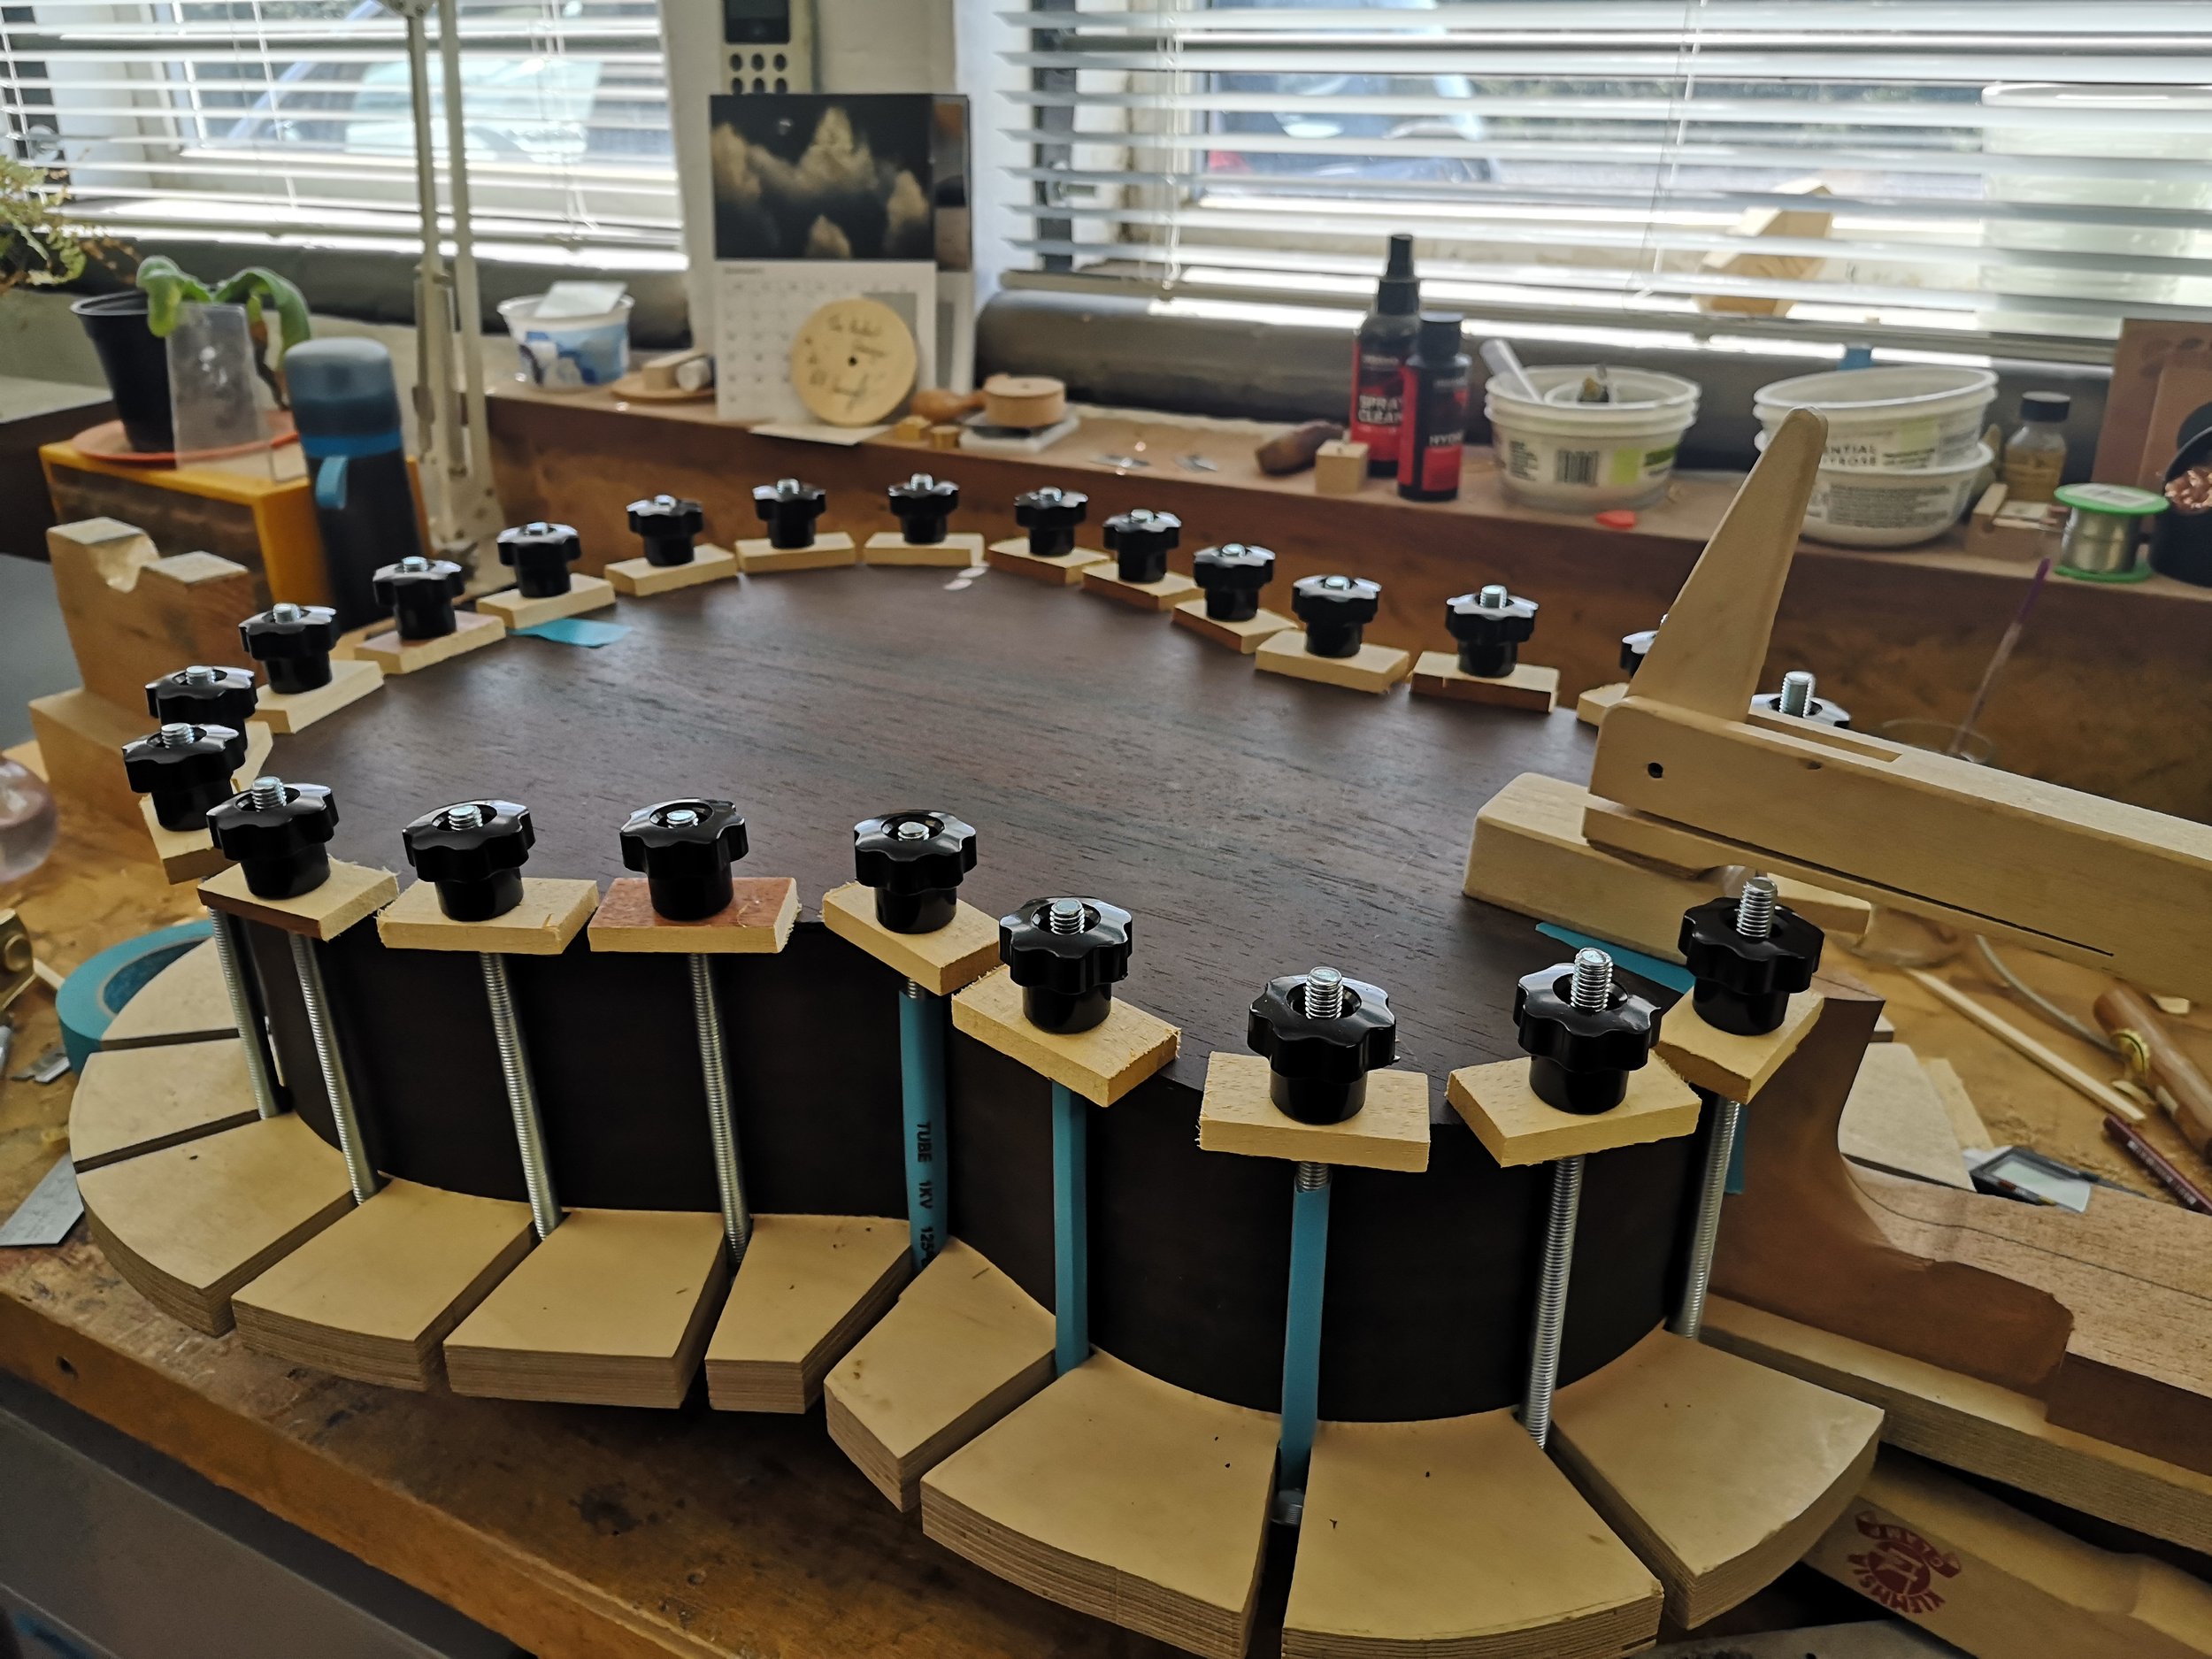
Once the linings are in place the braces of the back are cut to length and notched into rebates in the linings. Once happy that everything is sitting comfortably the back is glued to the ribs, thus closing the box. I like to celebrate this moment for each guitar, as a sort of “topping-out” ceremony, with a delicious beer.

BINDING


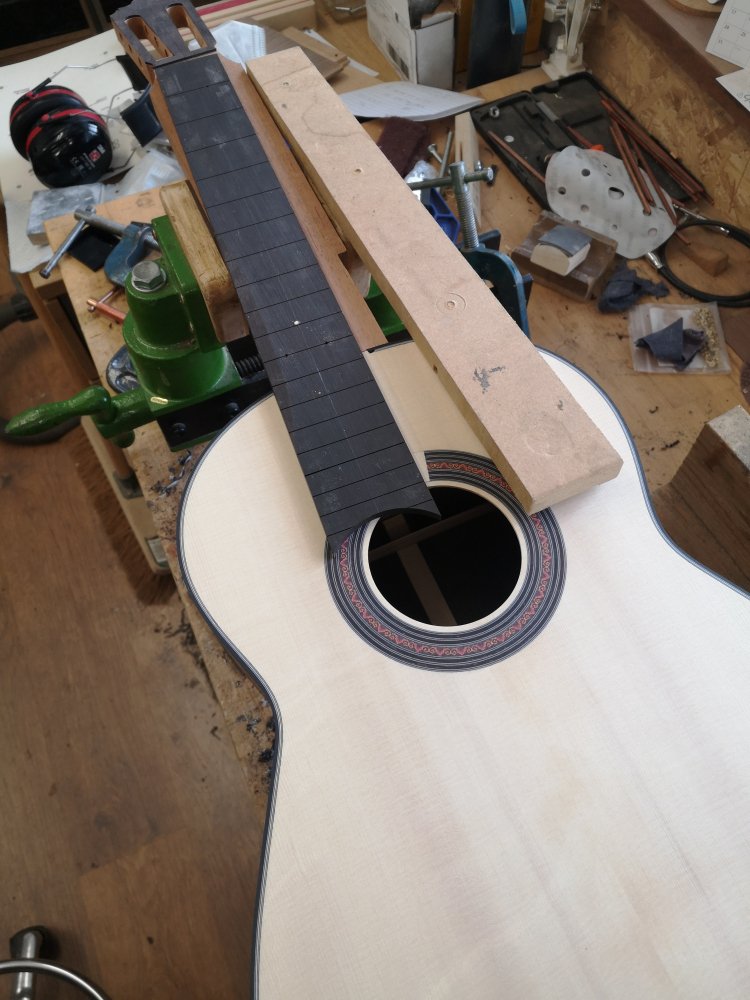
Fingerboard
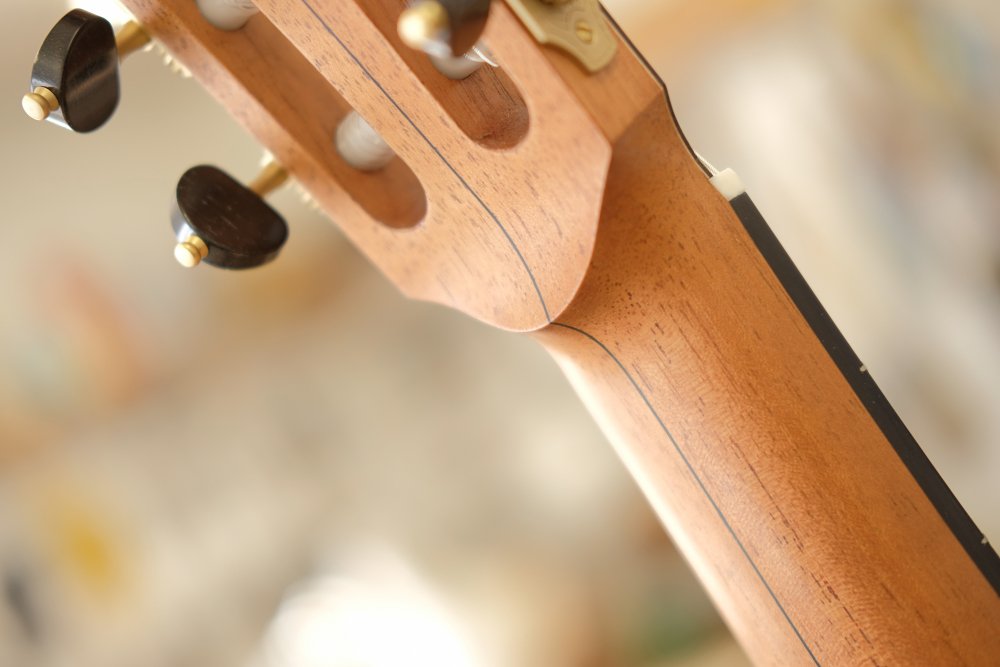
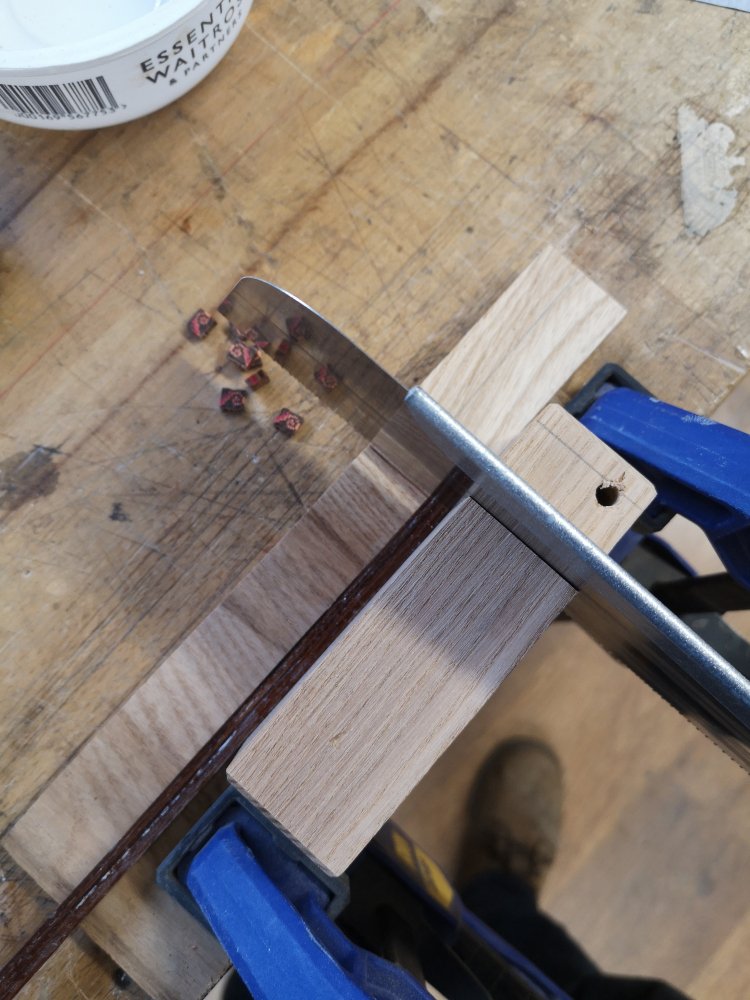
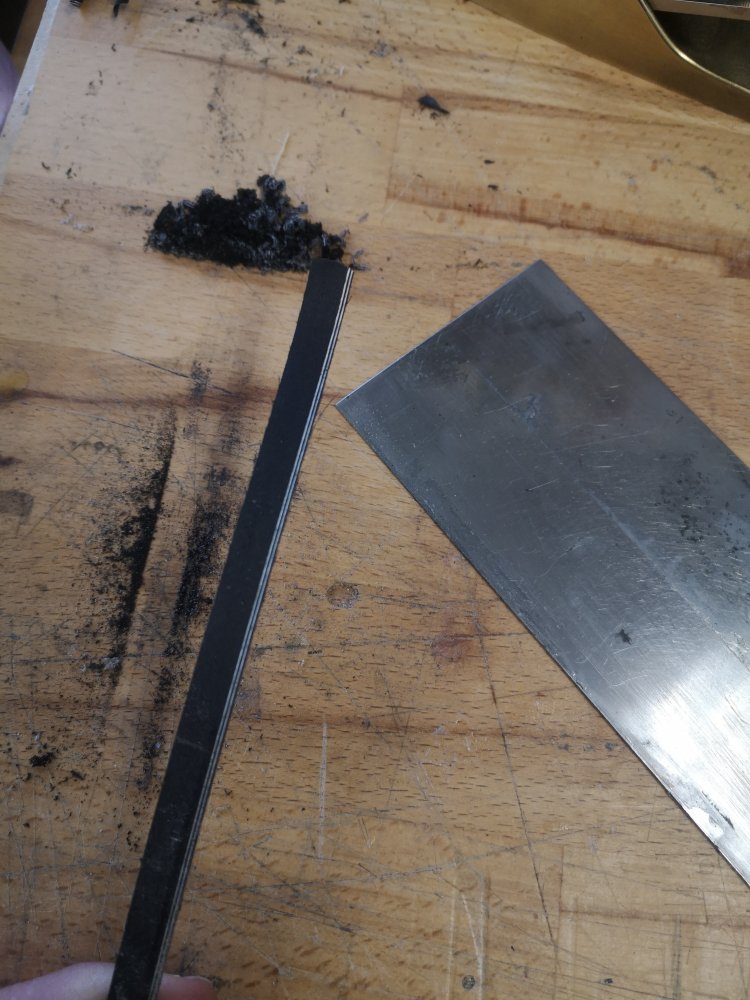
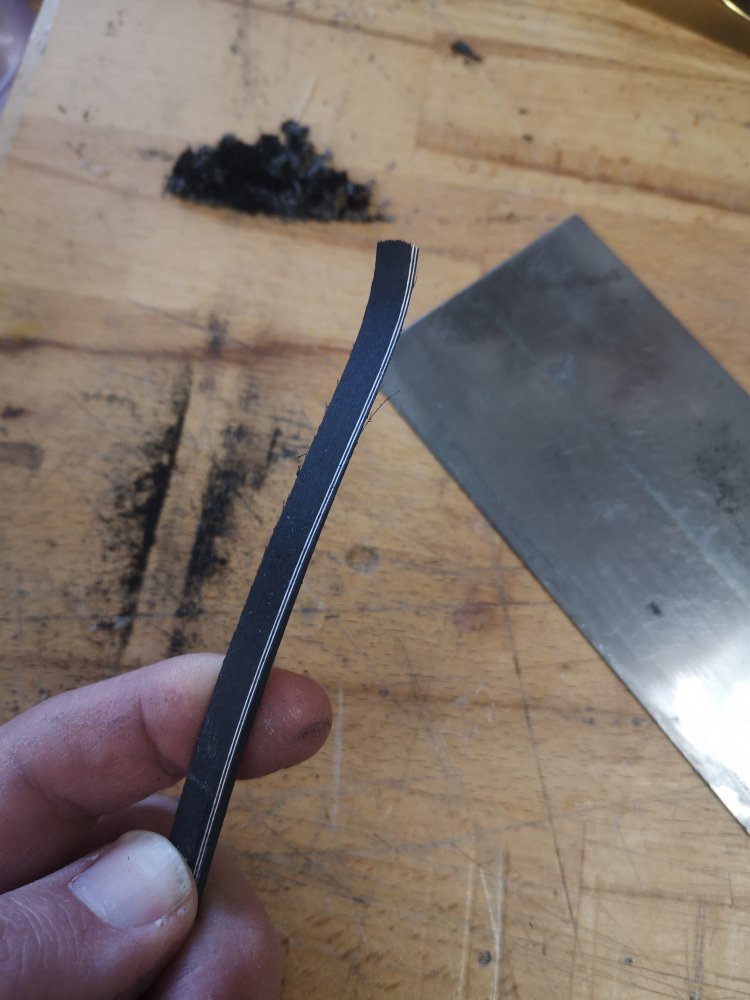
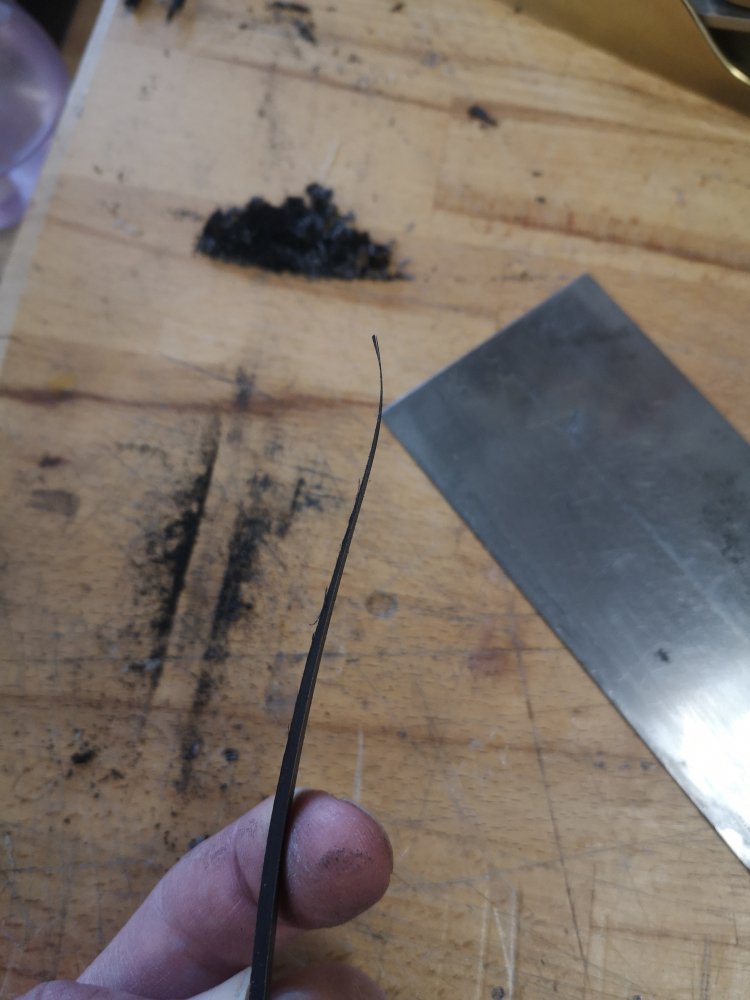
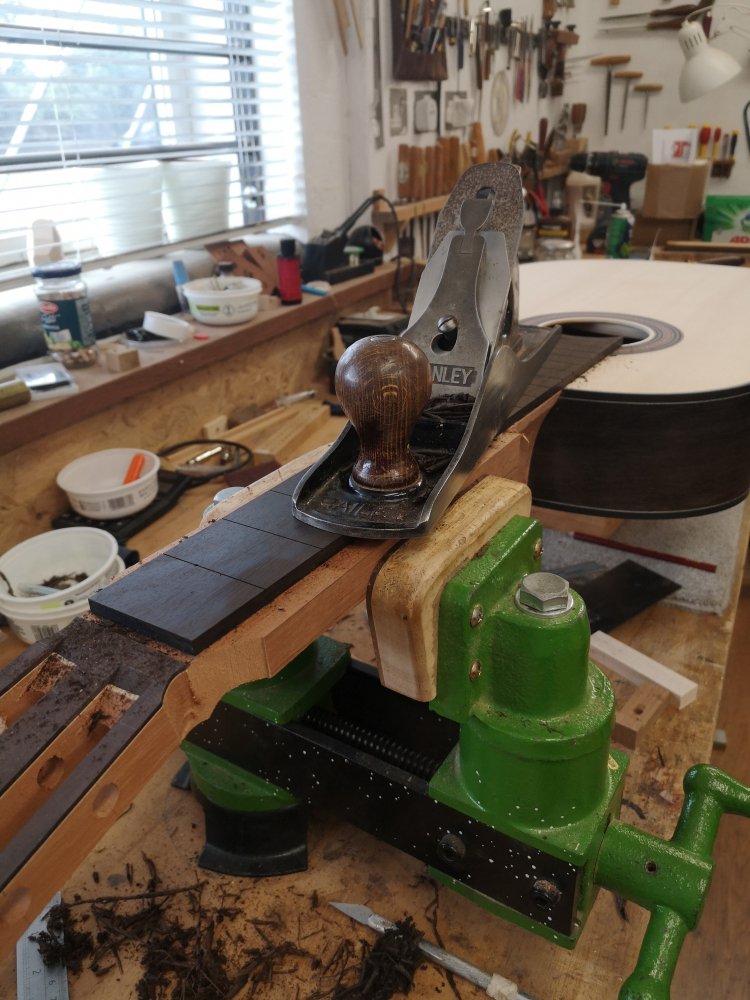
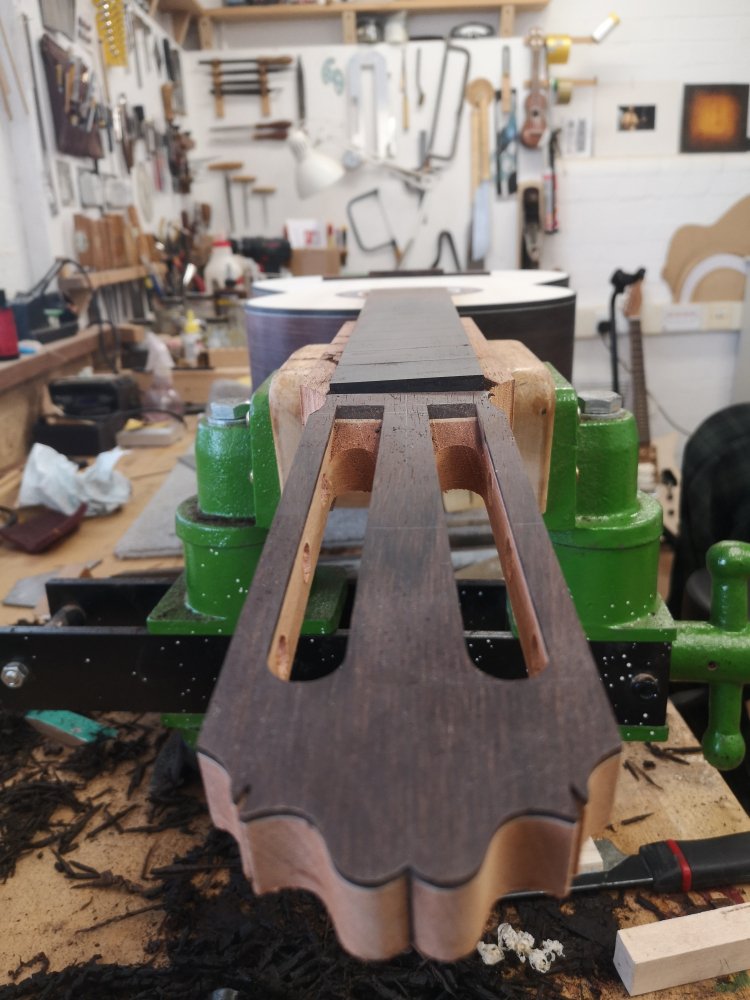
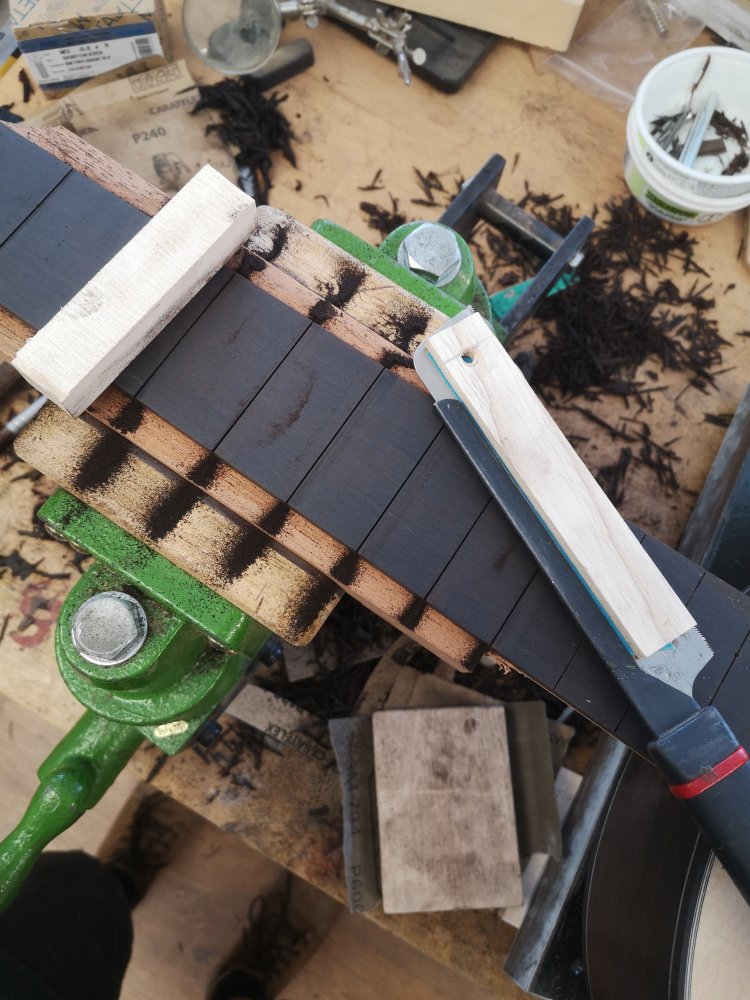
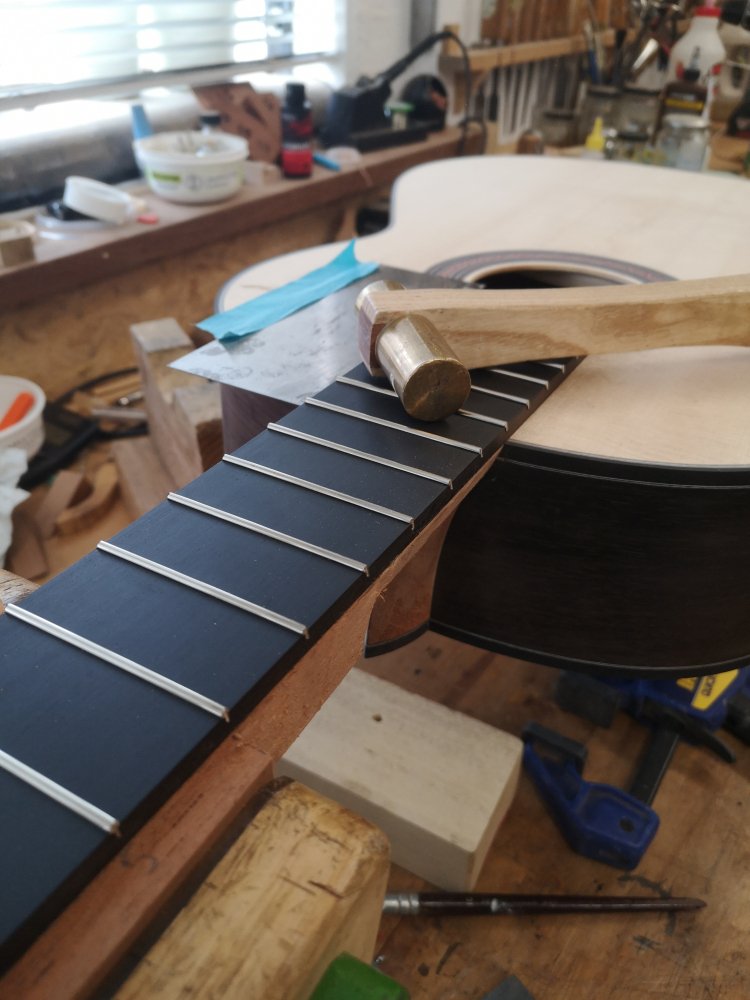
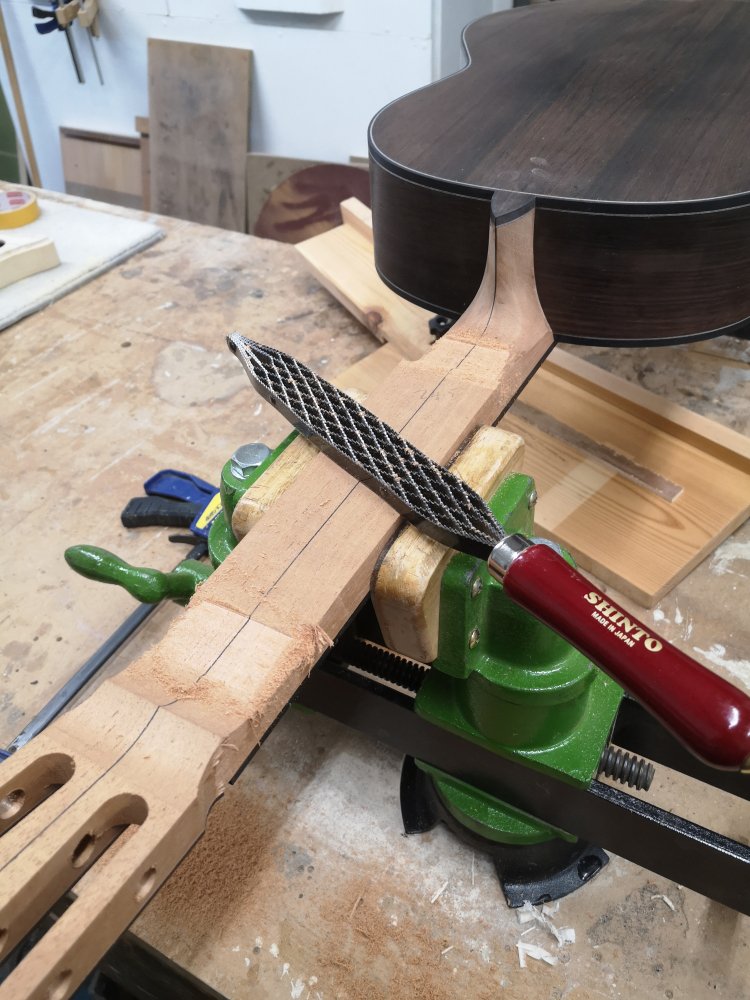
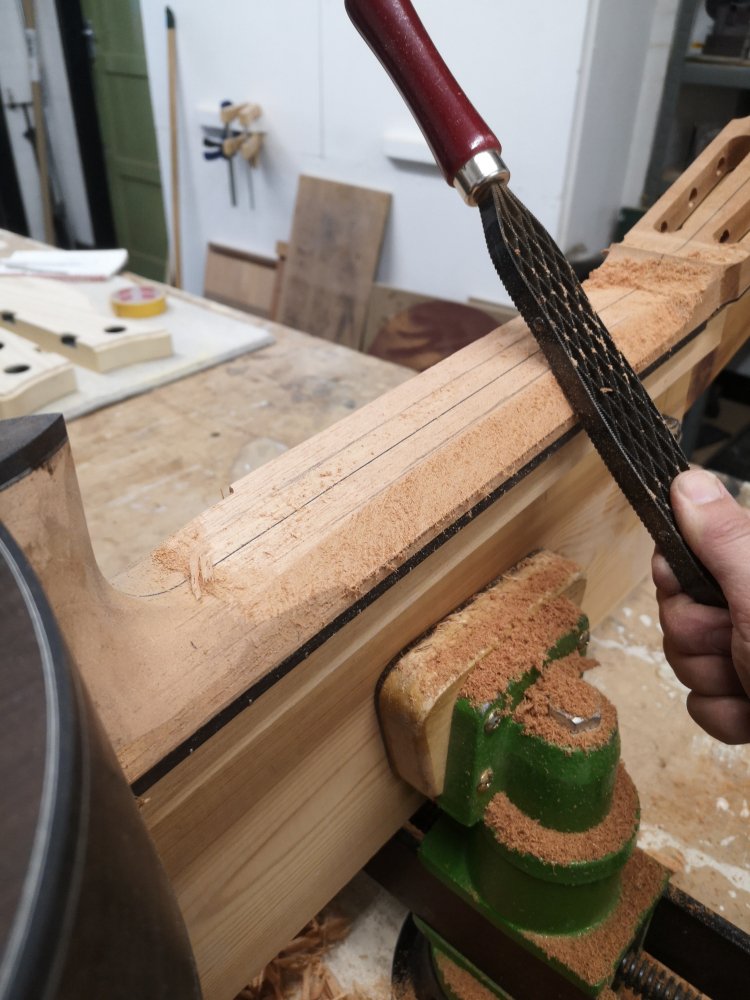
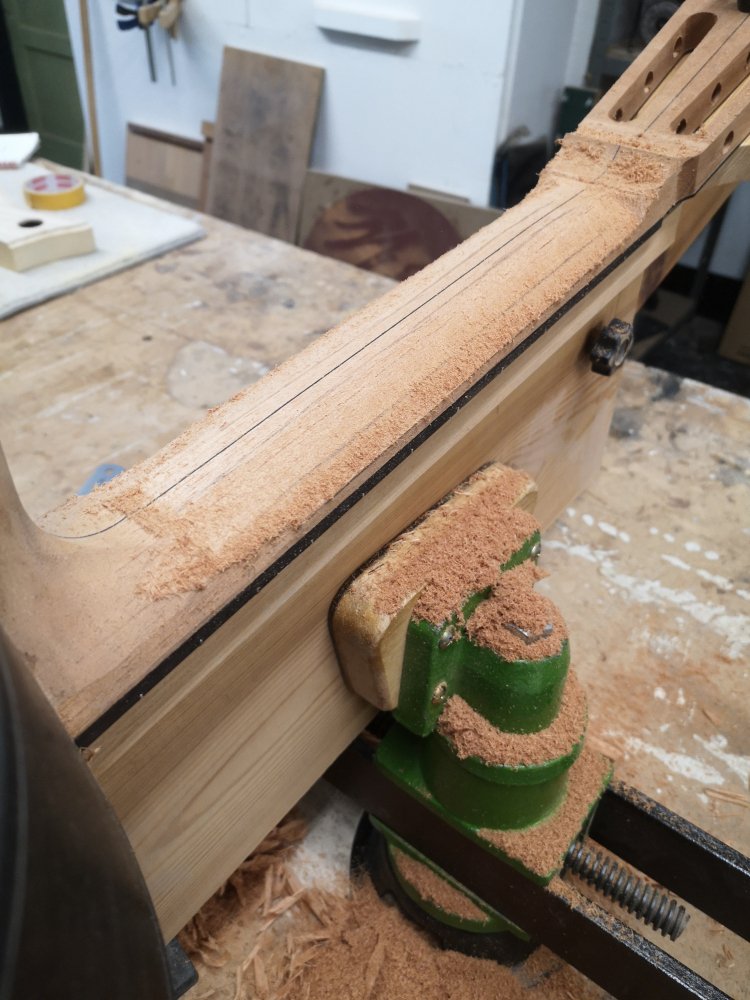
The fingerboard that Nest provided Bill is a beautiful old piece of ebony, jet black and straight-grained. It had been pre-slotted for frets in accordance to a 660mm scale length - slightly longer than the 650mm standard. The fingerboard had also been pre-tapered to the finished dimensions. These dimensions dictated the width of the neck at the nut and the 12th fret. Once glued to the neck, I plane a “twist” into the fingerboard. This unusual method, taught to me by James Lister at Newark College, enables you to have a break angle over the saddle at a more constant height from the soundboard. This subtle control of the break angle helps give a more even balance across the strings. The fret slots needed to be widened to accommodate my fretwire. I did this by hand, with the aid of a square block to guide the cut and a rudimentary depth stop affixed to the side of the blade. I tapped the frets in and completed the fret levelling and dressing once the neck had been carved, or rather rasped, using my trusty Japanese saw tooth rasp.

FINISHING
The application of shellac using the traditional “french polishing” method is long, repetitive and unphotogenic. It having been a while since I last french polished a guitar, I had to re-learn the technique. In doing so, I called upon a local auto-harp maker Alec Anness. It was in amongst some very interesting conversations that I was able to draw upon his knowledge and skills and push my polishing up to a standard that I was happy to call “done”. I owe him a great deal of gratitude for taking the time to talk through and demonstrate his methods. I look forward to continuing to practice this utterly beautiful finishing technique.
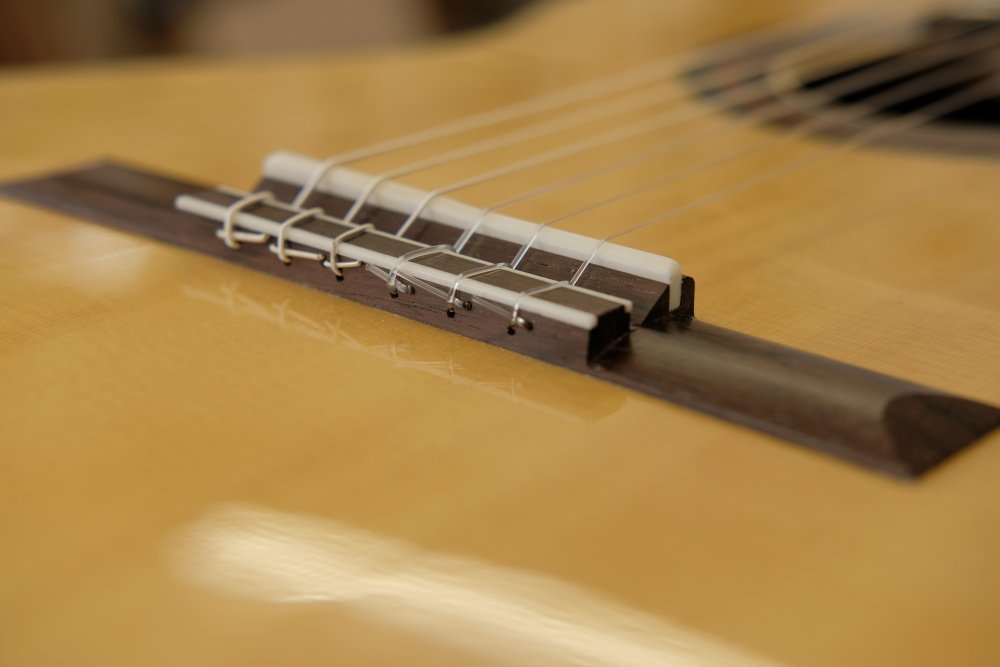
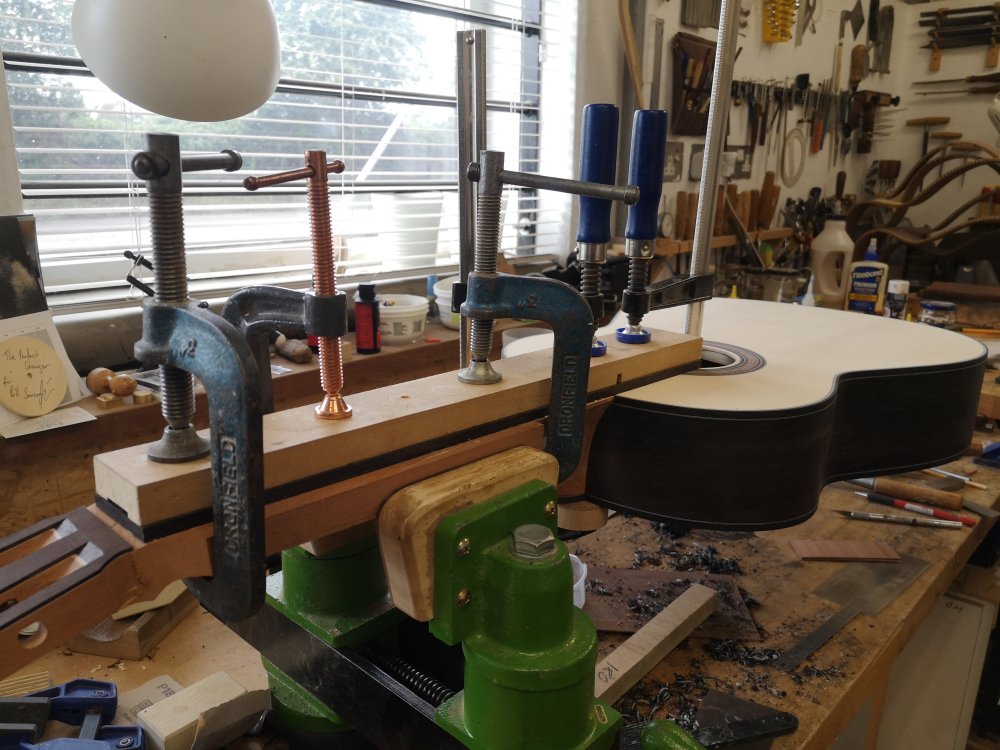
The Bridge & Setup
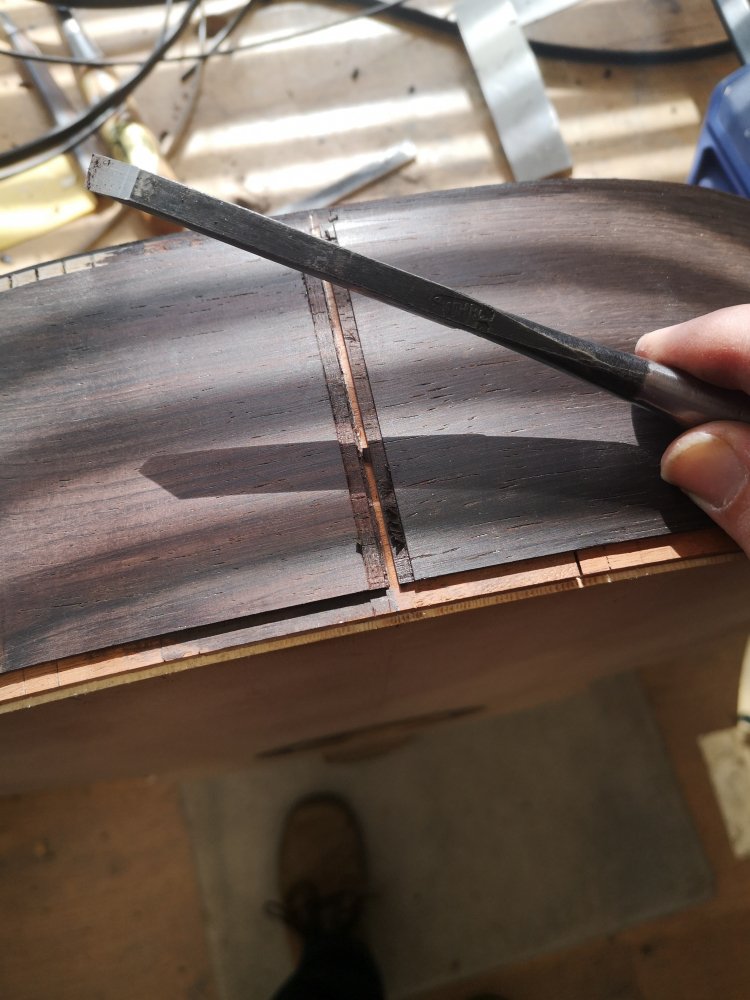
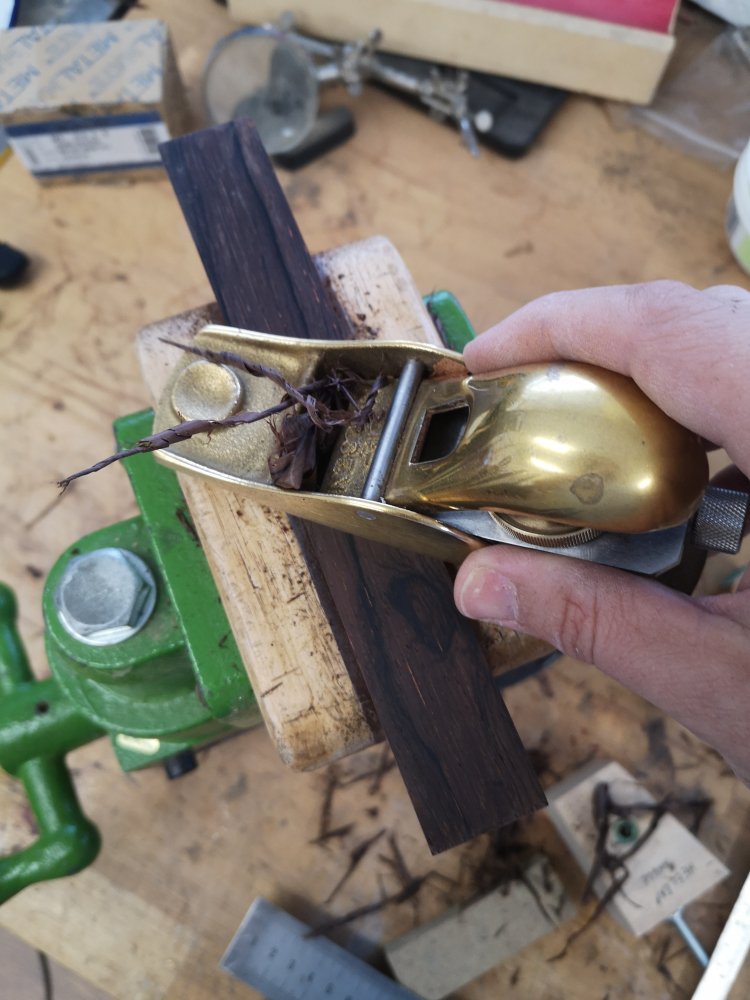
For reasons unknown, I didn’t take any photos of the refinement of the bridge from its provided state to finished and ready to glue. I do have a photo here of the underside of the bridge being shaped to fit the curvature of the soundboard using a small block plane. The fit was perfected with the judicious use of a well sharpened cabinet scraper. Once fitted, the exact location was determined and the polish removed with a scraper to ensure a wood-to-wood join. I used a little bit of fancy technology, my vacuum press, to clamp the bridge whilst the glue pitched off.
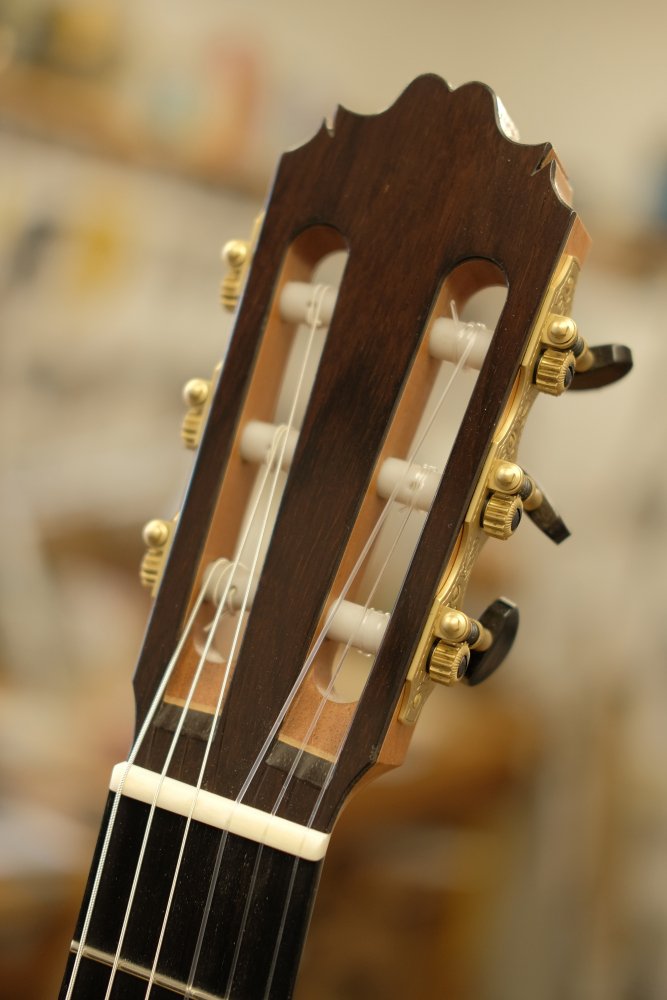
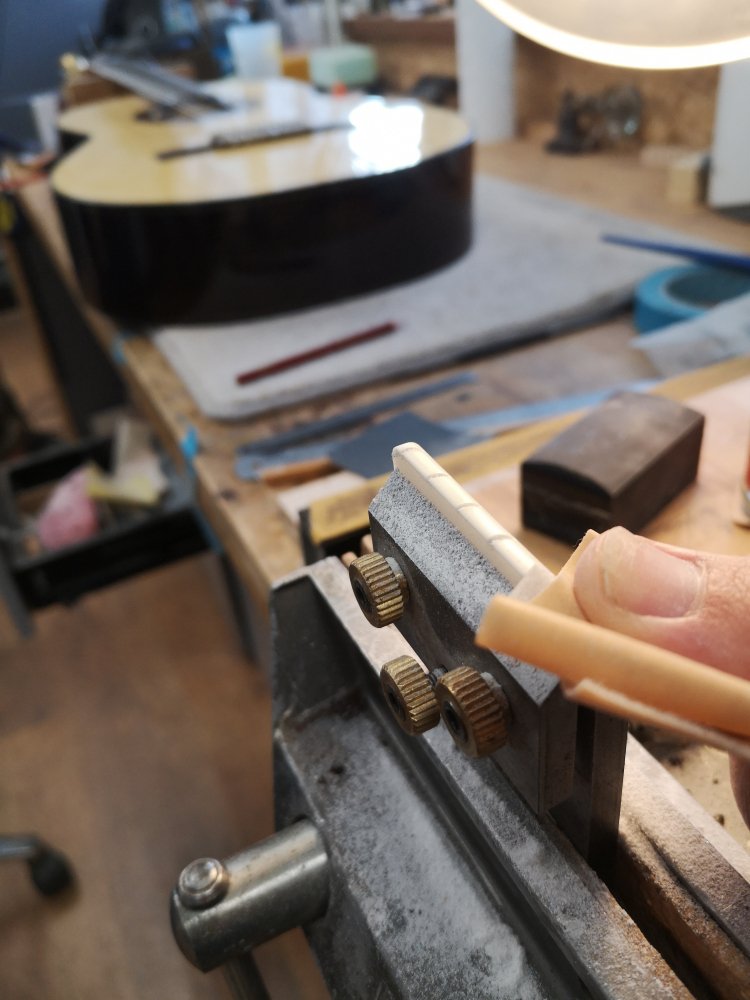
The final picture here is me polishing up the bone nut, right before stringing it up!

THe Perfect Stranger - finally strung